ECS Taster 2025 Machine Learning Labs
Earlier you had a lecture about how simple differentiation and an algorithm called gradient descent can be used to train the parameters of computer programs so they solve specific tasks. In this lab session we're going to explore this idea in more detail and build some machines (programs) that learn to make predictions from data - this is very much an introduction to topic of machine learning from the ground up.
These lab sessions are going to use the python language together with a widely used numerical library called numpy which has optimised implementations of methods for manipulating vectors and matrices. Like in this morning's lab session we'll use a web-based python environment called Google Colab (if you have a Google account - if not speak to a mentor and they'll show you how to run the lab exercises locally).
Note: Because we're going to be increasingly pushing you out of your comfort zone in this lab please just ask if you get stuck or have questions.
Getting Started
To get started we're going to take a crash course in python and numpy. Click the link below to open the first part of the lab. You'll need to log in with your Google account.
Tip: To save your progress to your Google Drive make a copy of the lab "notebook" by pressing the "Copy to Drive" button near the top left of the Colab interface.
Get familiar with Python programming and the NumPy library for numerical computing. This foundational lab will prepare you for the machine learning concepts ahead.
Once you've worked through the introduction you can progress onto this lab where you'll implement a simple, but extremely powerful machine learning model called linear regression.
Finally, the last part of the lab introduces you to what is known as a linear classifier (ask us why!), implemented with an algorithm called logistic regression.
How to Use Jupyter Notebook Offline
If you prefer to run the code locally on your computer instead of using Google Colab, you can use Jupyter Notebook. If you are running this on a University of Southampton workstation, you should already have access to Jupyter. Follow these steps to get started:
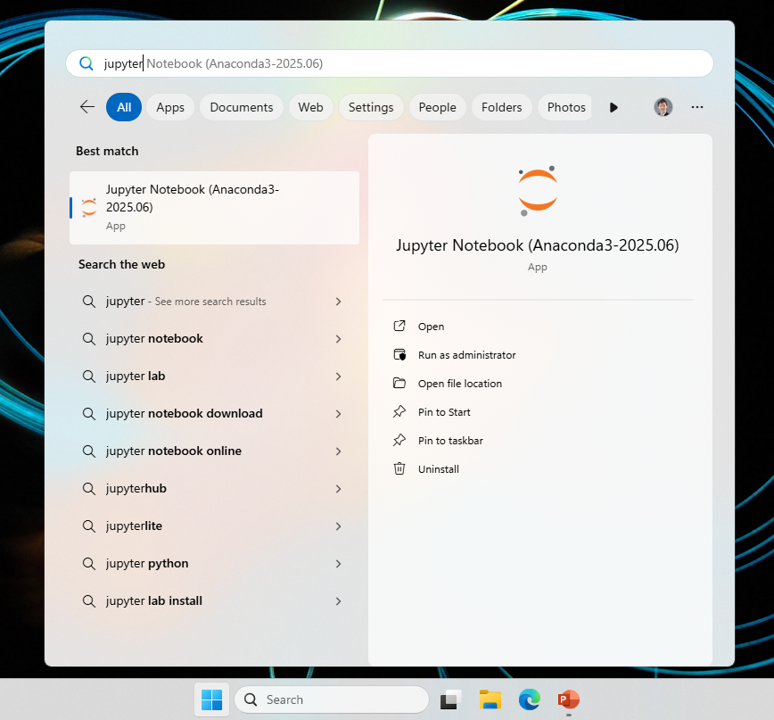
Step 1: Open Jupyter from Start Menu
Search for "jupyter" in the Windows Start menu and select "Jupyter Notebook" from the results.
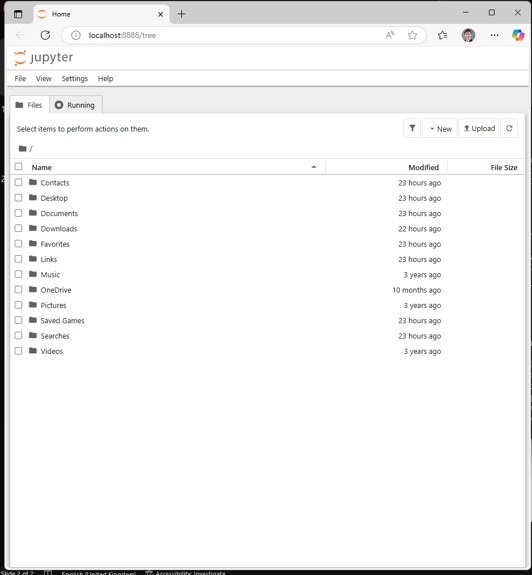
Step 2: File Selection Interface
You should see the Jupyter file browser interface open in your web browser, showing your computer's file system.
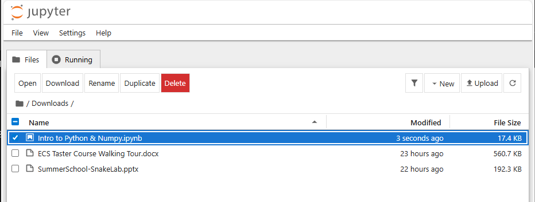
Step 3: Select the Downloaded .ipynb File
Navigate to where you downloaded the lab files and click on the .ipynb file you want to open.
Step 4: Notebook Interface Loaded
You should see the Jupyter notebook interface loaded with the lab content, showing code cells and text.
Step 5: Select and Run Cells
Click on a cell to select it, then click the "Run" button at the top of the screen to execute the code in that cell.

Step 6: Continue Through the Lab
Work through each cell in order, reading the instructions and running the code. You can modify the code and re-run cells to experiment with different approaches.
Tip: You can use Shift+Enter as a keyboard shortcut to run the current cell and move to the next one automatically.
Have fun & ask questions!
Remember, learning is a journey. Don't hesitate to reach out to mentors if you need help.